DIY Guide: Notebook Diagnostics and Troubleshooting ⚡🔧
Regain Performance in 24/48 Hours with Simple Steps 🚀
🔍💻 In this guide, you'll learn how to diagnose and resolve common laptop issues (won't turn on, cracked screen, no charging, slowness). Follow the steps and check the results after each change.
🛠️ Notebook Repair:
📌 Before you begin:
- 💾 Back up your data whenever possible.
- ⚡ Turn off and unplug your computer. Remove the charger and peripherals.
- 🖐️ Discharge static electricity (ESD) by touching a metal surface.
- 🛡️ Check the manufacturer's warranty conditions.
✅ Hardware (basic DIY steps):
- 🔌 Power Jack1) Try another compatible charger. 2) Inspect the connector for play. 3) Check the charging light. If there are sparks or a burning smell, stop using it and contact a technician. ⚠️
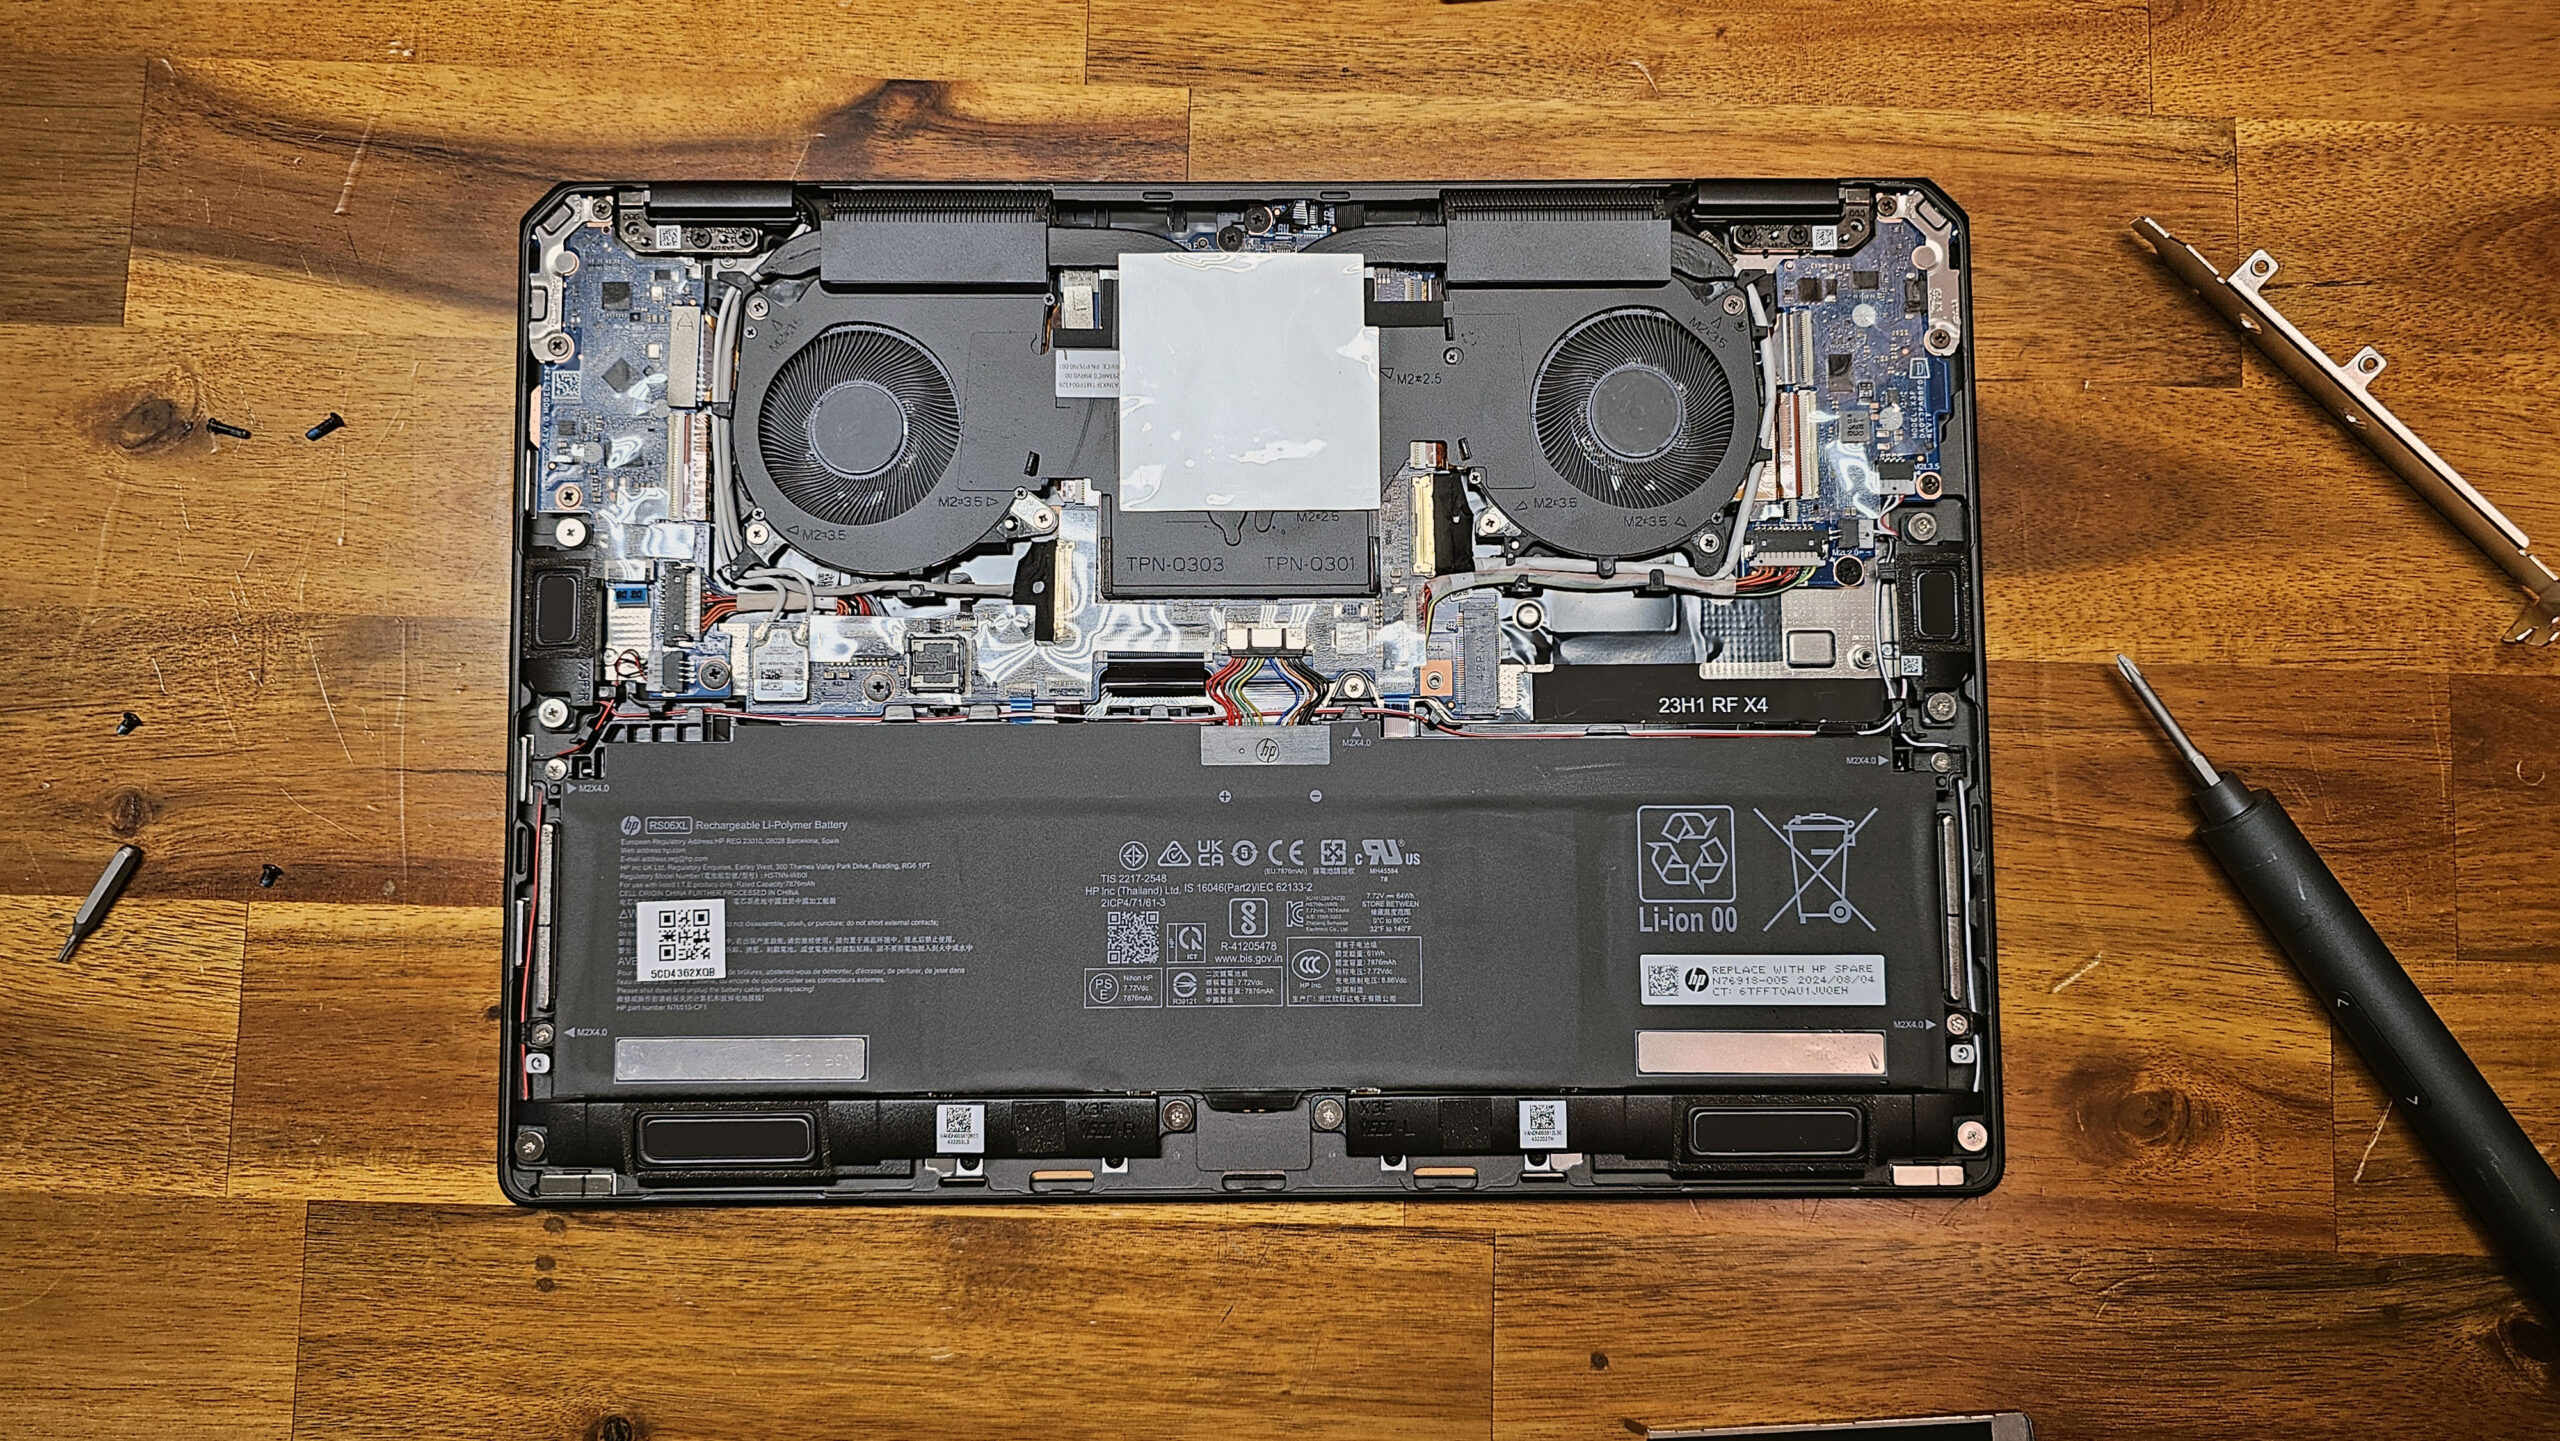
- 🔋 Battery1) Visually check for swelling. 2) If swollen, do not puncture or press on it; discontinue use and replace safely. ⚠️ Chemical hazard.
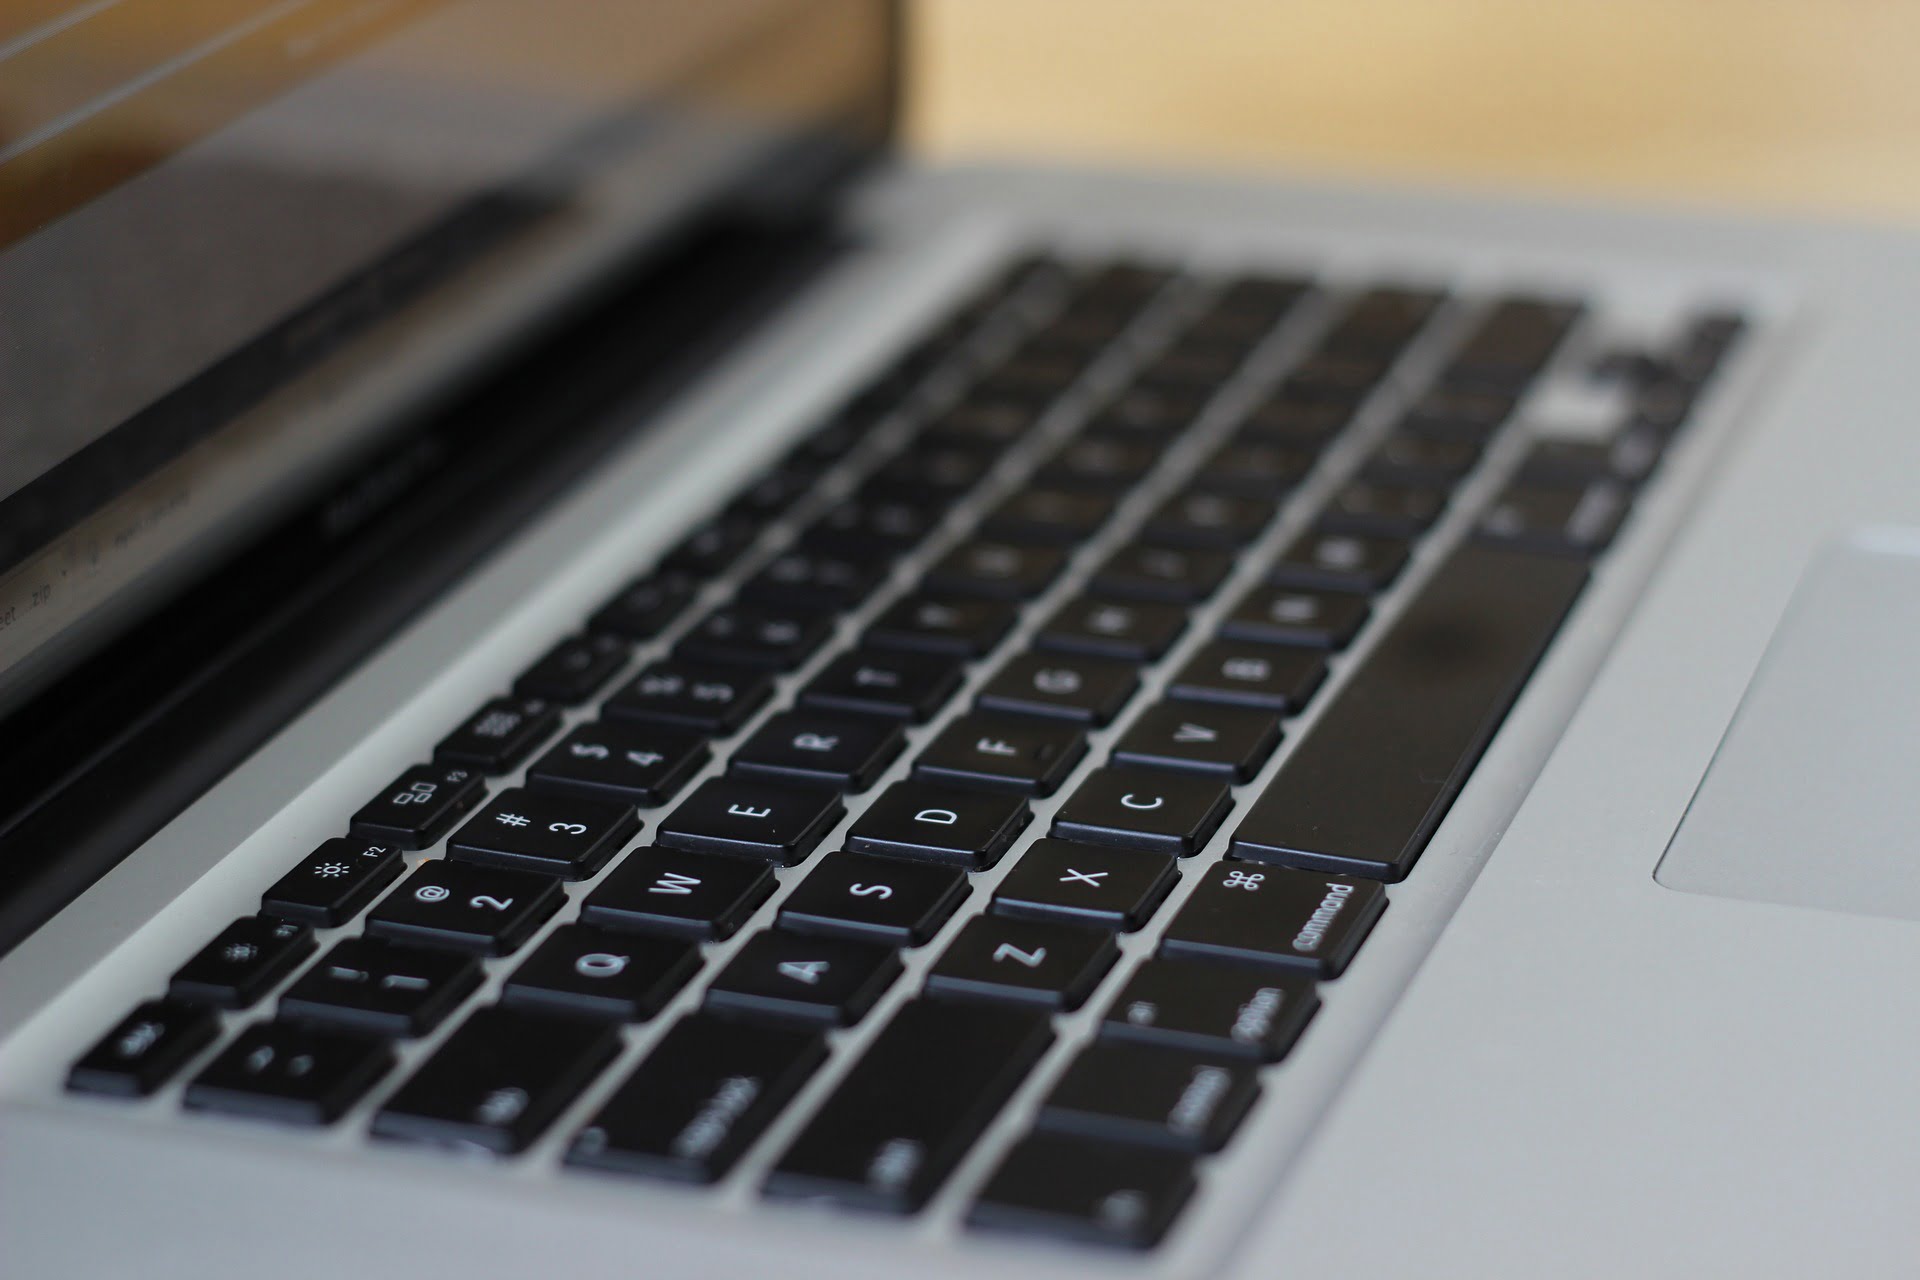
- ⌨️ Keyboard: 1) Clean with compressed air. 2) Test the USB keyboard to rule out software. 3) If liquids were present, disconnect and dry for 48 hours.
- 🖥️ Screen1) Connect an external monitor to confirm if the panel is damaged. 2) Check the brightness/screen shortcuts. Replacing the panel requires specific tools. 🆘
- ⚡ Storage1) If the drive is making noise, don't insist; prioritize the backup. 2) Migrating to an SSD improves boot performance by approximately 3x. Clone before switching.
- 🧠 RAM memory: 1) Test each module. 2) Clean the contacts with isopropyl alcohol. 3) Run diagnostics (MemTest).
✅ Advanced Electronics (derive):
- 🔬 Reballing / SMD soldering: Advanced procedure; recommended only in laboratory settings.
- 💡 BIOS Flashing: Risk of bricking. Consider technical support if you don't have a programmer.
- ⚡ MOSFETs/regulators: : Involves electronic diagnostics. Refer if there are shorts.
- 🔋 CMOS battery: You can replace it by following the manual; record the date/time afterward.
✅ Software (safe optimization):
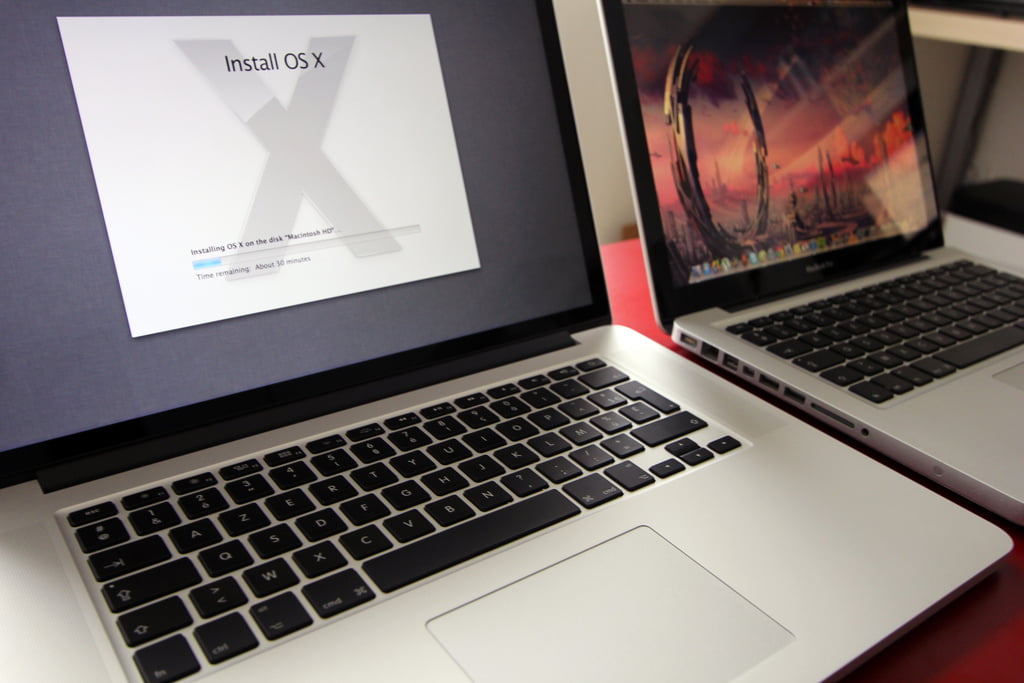
- 🧹 Reinstalling Windows: Previous backups, manufacturer drivers, and secure activation. See: related tutorial.
- 🛡️ Antivirus: Full scan and program review at startup.
- 🔄 Optimization: Remove bloatware, update BIOS/firmware and system.
Quick and Reliable Guide 💻✨
🔧 This guide provides practical, step-by-step procedures for restoring your laptop's performance. Apply each change and test the results before continuing. If you detect a burning smell, sparks, or excessive heat, stop testing. ⚠️
What do we do? 🔧
✅ Suggested diagnostic route:
- Power: charger, jack, battery and charging plate.
- Boot: BIOS, RAM, storage and SMART status.
- Video: panel, flex cable, integrated/dedicated GPU.
✅ Recommended improvements:
- Keyboard/Battery/Memory/Disk: Prioritize manufacturer compatibility.
- SSD migration and RAM upgrade for smooth multitasking.
✅ Mechanics and chassis:
- Screens/flex and hinges: handle carefully to avoid damaging the anchors.
- Housing: reinforce anchors with specific kit if necessary.
✅ Energy:
- Power jack and CMOS battery: Check continuity and replace if necessary.
- Avoid forcing loose connectors.
✅ Software:
- Formatting and installation with previous backup and correct drivers.
- Startup optimization and temporary file cleanup.
✅ Cleaning and maintenance:
- Removes dust from heatsinks and coolers.
- Renew thermal paste according to specifications.
Typical Failures and How to React 🚨
🔹 Keyboard not responding: : test external keyboard and check drivers.
🔹 Battery does not charge: Calibrates and confirms health with manufacturer's tool.
🔹 Slow notebook: Check disk status and consider SSD.
🔹 Disk with errors: : immediately back up and replace.
🔹 Upgrade to SSD: Clone first to avoid data loss.
🔹 Unstable charging jack: avoid movement; inspect for looseness.
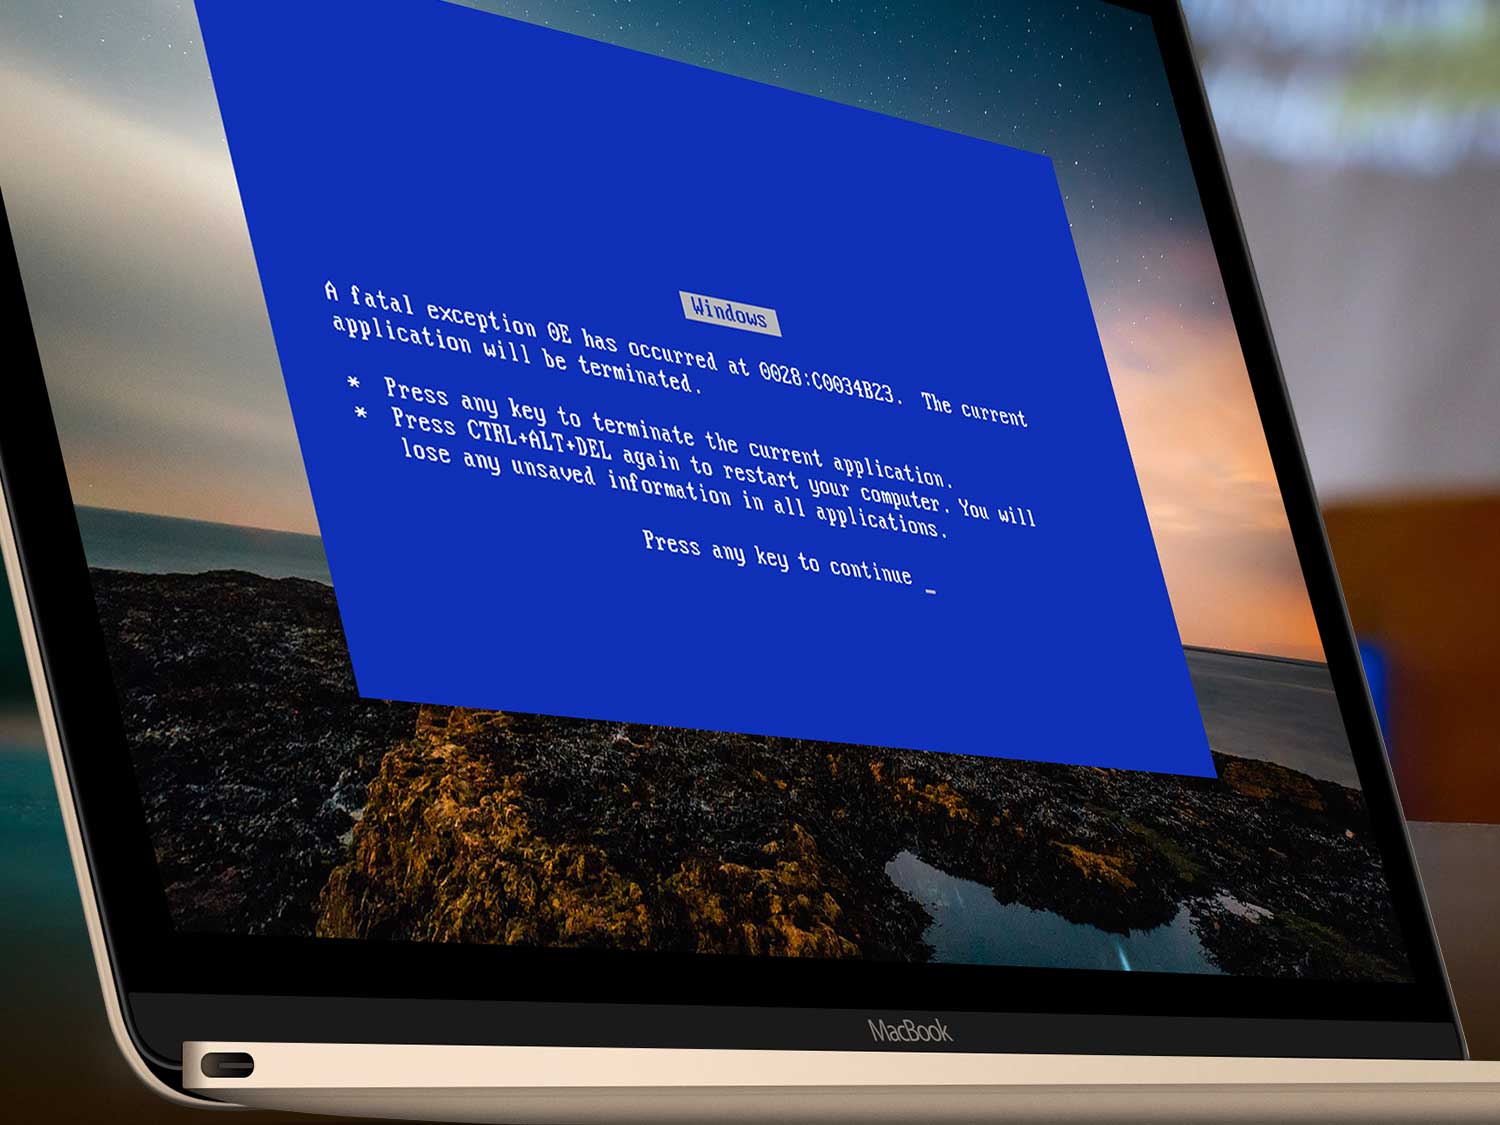
🔹 Corrupt BIOS: Attempts official recovery; if it fails, derive. 🆘
🔹 Screen without image: : Test external monitor and brightness/shortcuts.
🔹 Hinges/housing: reinforces anchors and prevents opening under pressure.
🔹 Electronic shorts: Do not energize repeatedly; drift. ⚠️
🔹 Internal cleaning: compressed air and temperature control.
🔹 Thermal paste: Apply a thin, even layer.
Key Tips 🌟
✨ Document changes: : write down each intervention.
✨ Compatibility: Please confirm part models before installing.
✨ Tools: Use precision screwdrivers and an ESD wrist strap.
✨ Warranty: Opening the device may void it; check first.
Attention and Work Rate 🚀
Organize the process by modules (power, storage, memory, video) and validate after each step. If you're not comfortable with soldering, microelectronics, or reprogramming, seek professional help. 🆘🔧
| Advantage | Detail |
|---|---|
| ⏱️ 24–48 h plan | Organize tasks by priority (backup → power → boot → video). |
| 🔧 Good practices | ESD, manufacturer's manual and appropriate tools. |
| 💰 Costs under control | Evaluate repair vs. replace based on diagnosis and age. |
| 🛡️ Risks | Avoid intervening in advanced electronics without experience. |
| 📍 Applicable at home | General guide valid for users of Belgrano and surrounding areas. |
📲 Don't suffer anymore with your Notebook!
Final Tips 📲
🧭 If, after following the basic steps, the problem persists, or you experience strange noises, a burning smell, physical damage, or data encryption, contact a trusted service center. Document your test history to expedite the diagnosis.
Benefits of Following this Guide 🌈
- Informed diagnosis: You decide with data whether to repair or replace.
- Time saving: You prioritize what has the greatest impact.
- Compatibility: you avoid common mistakes when choosing spare parts.
🕒 Do your tasks in a timely manner and with good lighting.


GUIDANCE RESOURCES
Materials, tasks, and notes for your DIY project
| # | Task | Note |
|---|---|---|
| 1 | Diagnostics when it does not turn on (charger, jack, battery, RAM) | ⚠️ |
| 2 | Screen replacement | 🆘 |
| 3 | Keyboard replacement | ✅ |
| 4 | System Reinstallation | 💾 |
Is your equipment still failing?
Review diagnostic guides and resources before deciding on professional repair.


