
Notebook Screen Replacement
DIY guide to replacing your laptop's broken screen 💻🛠️
🔍💻 In this guide, you'll learn how to diagnose and replace a cracked, lined, dull, or damaged touch LED/LCD screen yourself, following clear and safe steps.
Laptop Screen Repair: Do It Yourself
The screen is one of the most delicate components of a laptop. A blow or undue pressure can easily damage it. Here's how to do it step by step, minimizing risks and without losing data. 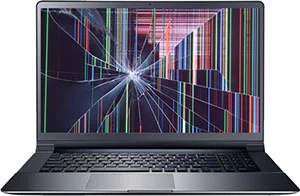
📌 Before you begin:
• 💾 Back up your data.
• ⚡ Turn off and unplug the equipment.
• 🖐️ Discharges static electricity (ESD).
• 🛡️ Check if the warranty covers the screen replacement.
💡Symptoms of a screen failure:
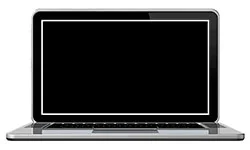 | 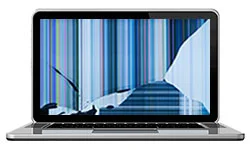 | 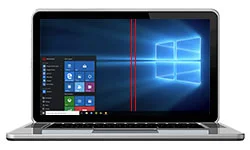 |  |
| Black or dull screen – Before changing it, check that the fault does not come from the motherboard. | Visible breakage – Glass damaged by impact. | Lines on screen – Visible vertical or horizontal lines. | Dark spots – Loss of uniformity or blurred areas. |
🛠️ Procedure to change the screen
1️⃣ 🔍 Carefully remove the plastic frame.
2️⃣ 💡 Disconnect the flex and camera cables.
3️⃣ 🛠️ Loosen the hinges to release the panel.
4️⃣ 📊 Write down the make and model of your panel to purchase a compatible one.
5️⃣ ✅ Install the new screen, connecting cables and securing hinges.
6️⃣ 🔌 Connect the equipment and test the image.
ℹ️ Factors to consider when choosing the screen
- Size in inches.
- Technology: LCD, LED, IPS, etc.
- Resolution: HD, Full HD or 4K.
- Thickness: normal, slim, ultra slim.
- Finish: gloss or matte.
- Connector type: 30 or 40 pins.
- Connector location: right or left.
🆘 When to see a technician
If you notice a burning smell, strange noises, severe physical damage to the casing, or lack the proper tools, contact a trusted service center.
Final notes
Replacing your screen doesn't erase your data, but always back it up first. Check compatibility with your model and follow the manufacturer's recommendations.

